Ok, we’ve gotten to the final stage and that is hosting. We would be leveraging Microsoft cloud platform (Azure) for hosting.
You might be worried about being charged to host on azure but the good thing is that Microsoft is quite generous to provide a free tier hosting plan.
We would be making use of the f1 service plan which is free.
So follow through the steps below to host your PWA.
- To access Azure click this.
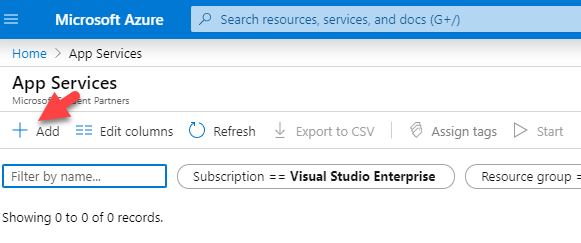
- Once you are logged in type “app services” in the search bar and select it. (App service lets you deploy and scale your web and mobile apps easily)

- Click the add button to create an app service
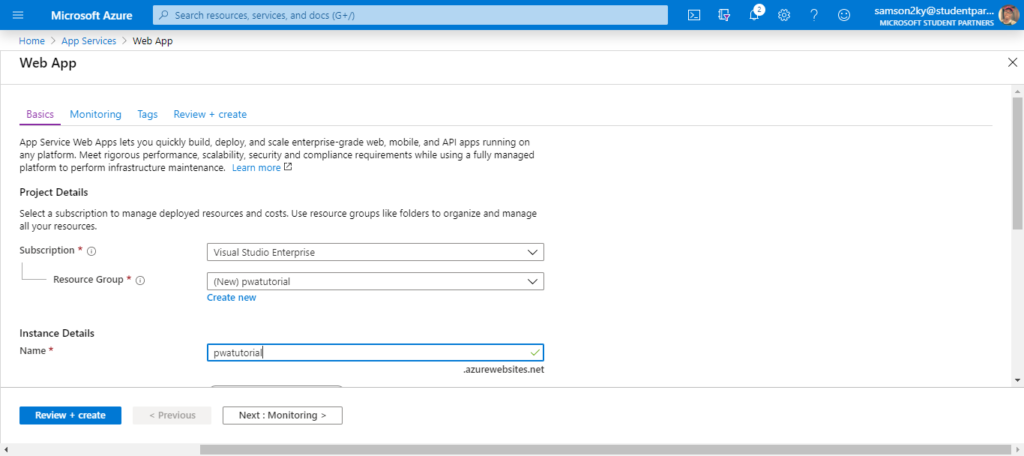
- You would then enter a page that requires you to set up the details of your app service. Please also note that if you are registering for the first time, Azure gives you a credit worth of $200 to use for a year. So try and use that in the subscription dropdown if you are new to the platform.
- You can see my selection in the pictures below:-
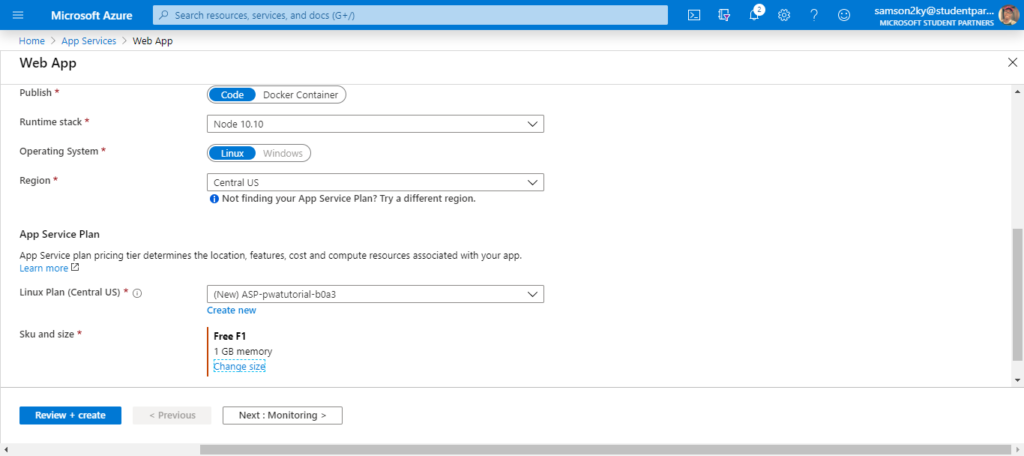
- I chose “f1” in the SKU and size option because of the “f1” systems are free although they are limited to 1gb memory and 60 minutes compute per day.
- Next, click on review and create. Once it has finished loading click on the “Create button” and wait for your app service to be up.
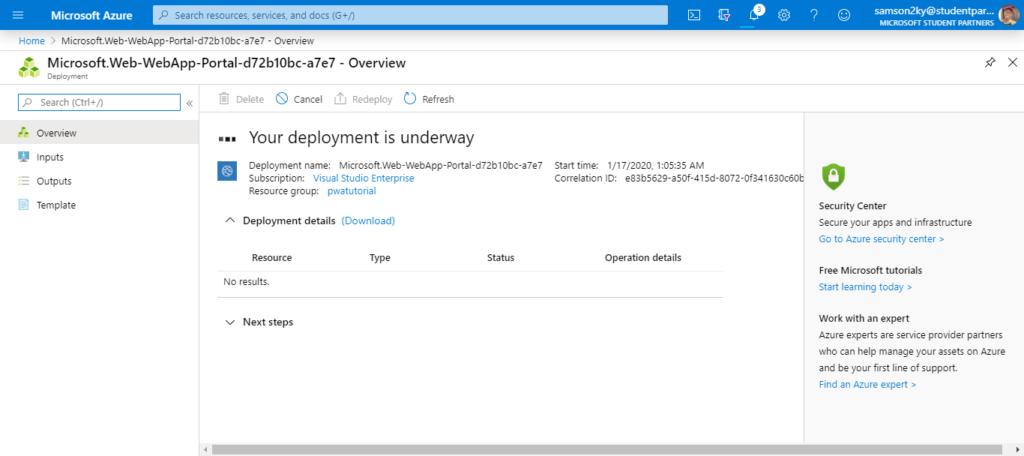
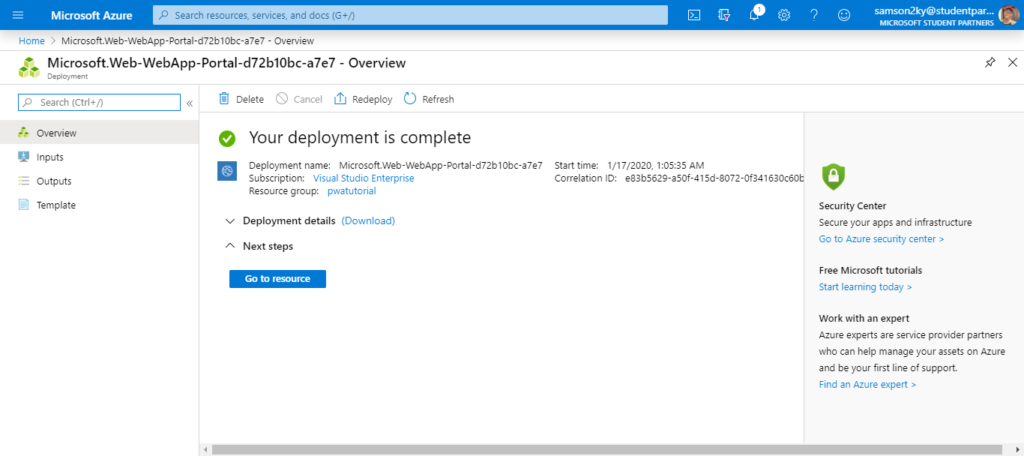
- Once it has completed, click on the “Go to resource” button
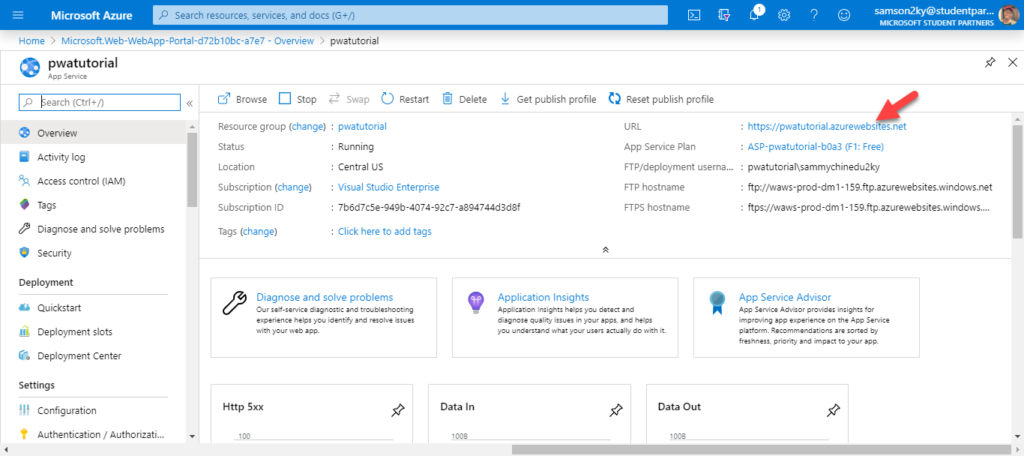
- If you try to click the URL of your new site you would see this:-
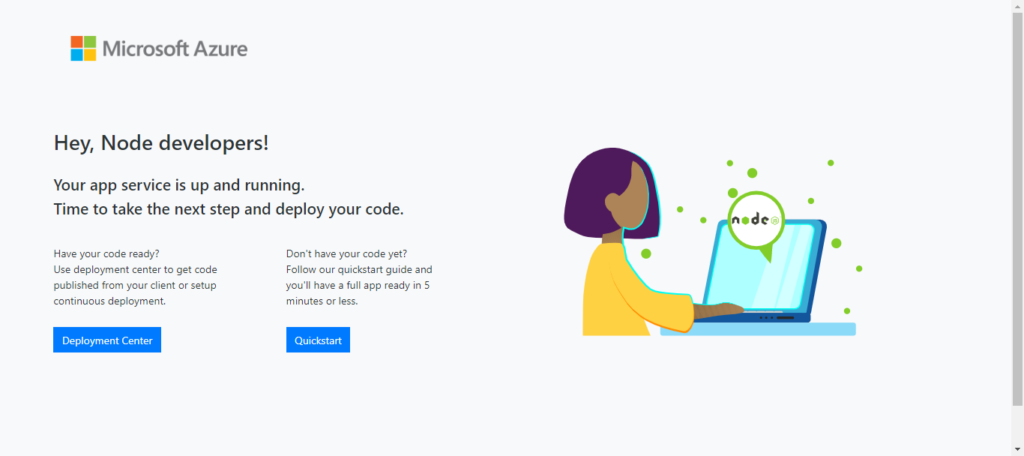
- You would see that it is showing a default page that indicated that the app service was set up to host a node app.
- The next step is to deploy.
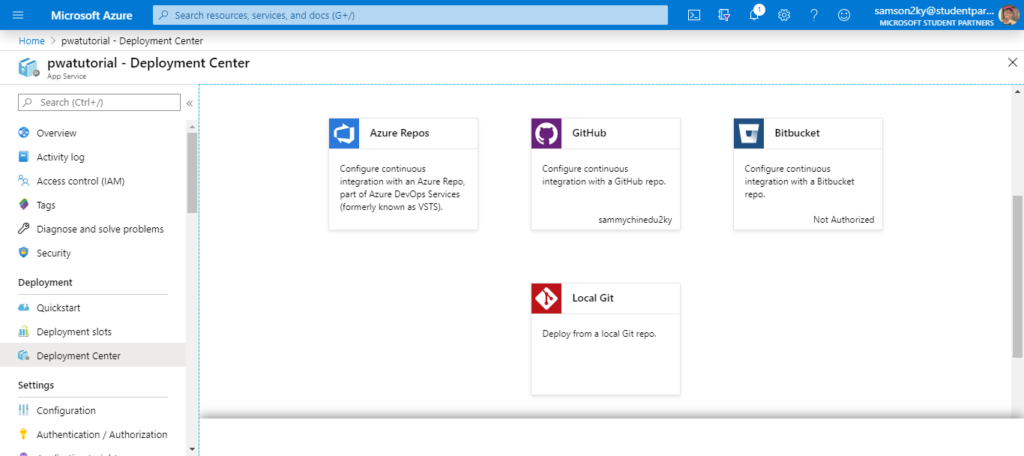
- Go back to your app service section and click on the “deployment center” option.
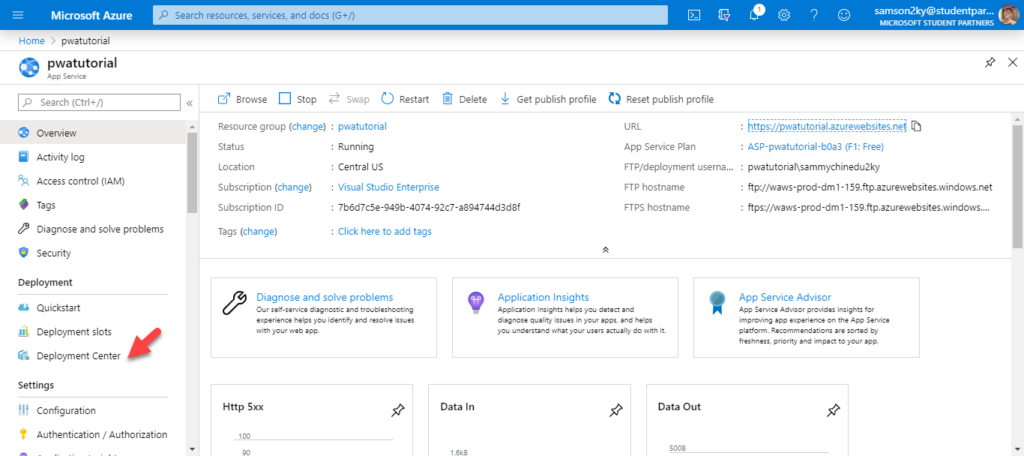
- After you click on the deployment slot. Scroll down in the main page and select “local git” and click on “continue
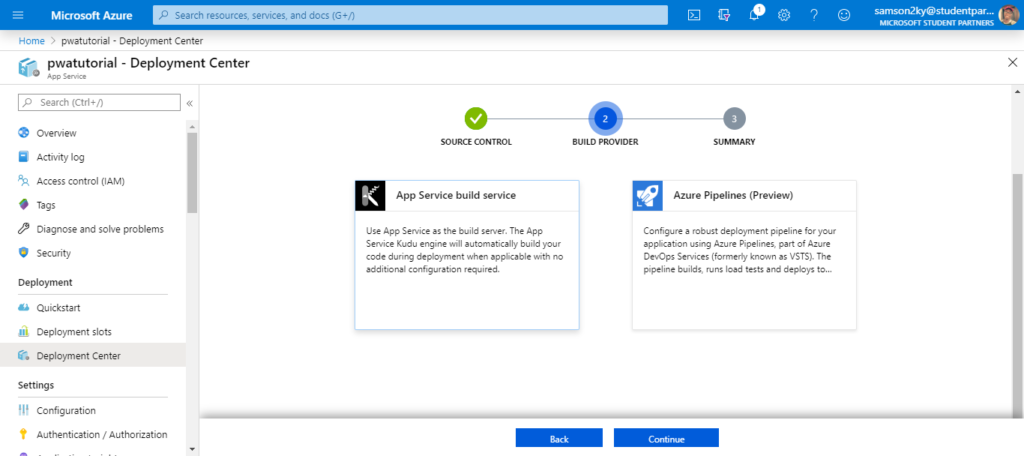
- Next, select the kudu app service build service and click on the “Continue” button.
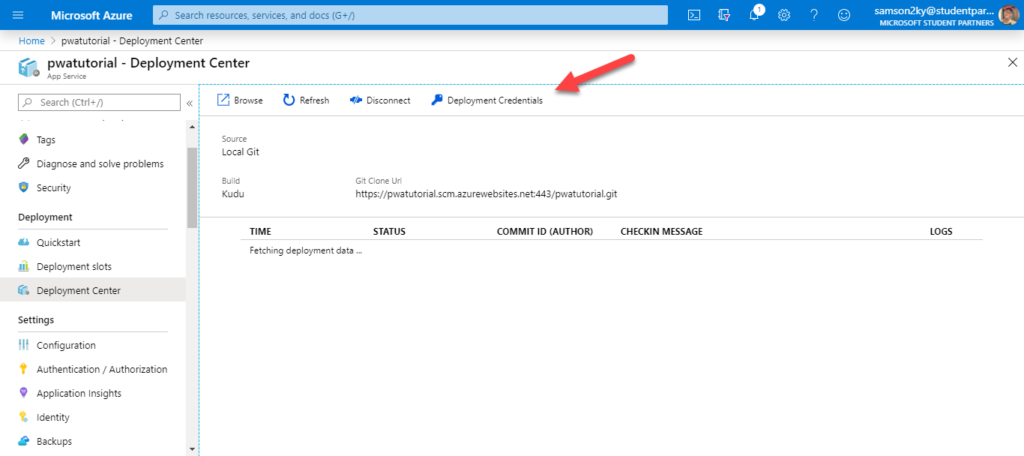
- Once it has done loading, copy the git URL, this is what we would use to push our code from our local git to Azure for deployment.
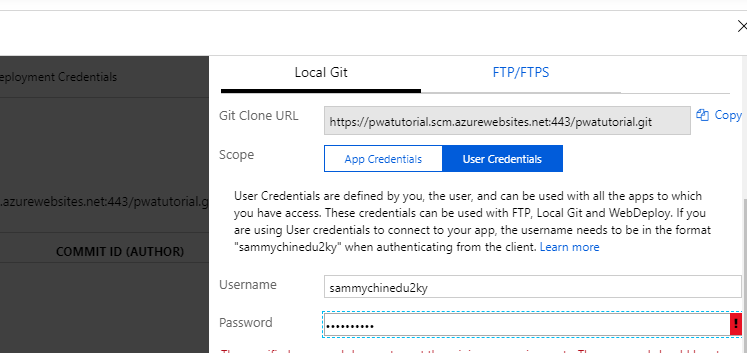
- Next, you need to set user credentials (ie password and username) that would give you access right to push from your local git to your remote git for deployment.
- Click on deployment credentials.
- Then fill your user name and password and save it. You would be asked to verify your ownership when you want to push your PWA code to this remote git.
- After this process, go to your local repo on your system and add the remote git URL by typing this:-
git remote add azureRemote [your remote git url]- change the listener in your server from 3000 to “process.env.PORT||3000”. This would enable your server to make you of the available port in the server.
- Once you are done, make a commit and push.
- Then do this:-
git push azureRemote master- A prompt would pop up requesting for your username and password. Fill the username and password that you set on azure.
- After filling it you should see the event log in the terminal.
- Next, go back to the overview section and click on your sites link to check out your new web app.
- You can check out a link to mine here
Hope you learnt well and if you have any comment or contribution please try and do that. Thanks


frolep rotrem
Good write-up, I¦m normal visitor of one¦s blog, maintain up the excellent operate, and It is going to be a regular visitor for a long time.